How to Take Down and Store a Shade Sail for Winter
Take a removable shade sail (sun sail) down before the first snow or the season’s strong storms. On a calm day, ease the tension out of the fittings and lower the cloth with a helper. Clean it by the method below, then pack it only when the reinforced corners and seams are dry.
If the next calm spell comes before a storm, use it even if the fabric is damp. You can dry it indoors later. Ice and snow are harder to deal with once they’re overhead.
When should you take your shade sail down?
Once you’re done with the patio for the season, take the sail down in the next calm spell. Move the job forward if snow or severe wind is forecast. A bespoke installation designed for year-round use can have different operating rules. Look for written limits for the whole assembly, including the fabric, posts and wall fixings.
| Your situation | What to do |
|---|---|
| Snow or freezing rain forecast | Remove before it arrives |
| Exposed coast or recurring gales | Take down in a calm spell |
| Unlabeled sail, patio closed | Store it for winter |
| Mild site, approved year-round setup | Follow its written limits |
| Sail frozen, loaded or thrashing | Keep clear and get help |
On a deck in an inland winter, snow usually sets the deadline. In a mild maritime garden, from coastal British Columbia to Ireland and Atlantic Europe, repeated gusts may be the reason to take it down long before the first frost. For a sheltered patio in a mild winter, some makers allow year-round use in mild conditions. If you’re leaving the garden unattended through winter, take the sail down before you go. Retract a sliding or roll-up model as its manual directs.
Even with open mesh, wind pulls on the corners and posts. A solid waterproof sail can also collect water if it sags or can’t drain. Snow adds weight and ice can make the fabric fragile. If water has pooled overhead or a post has shifted, keep people out from under it and call the installer. A ladder under a loaded sail puts you right where the water, cloth or hardware can come down.
Use the rating for your exact sail and installation, and compare gusts with a gust rating. The breathable Solaria and Solaria +Plus have separate wind and gust figures, shown below. Older Maanta fabric guidance gives 19–24 mph (30–39 km/h) for waterproof Easy Shade and 32–39 mph (51–62 km/h) for breathable sails when correctly tilted and tensioned. These are manufacturer claims for different products, not a removal threshold for all sails.
Forecasts distinguish wind speed from peak gusts. If a gust is forecast to exceed your installation’s written gust limit, arrange removal beforehand in calm weather. With no documented limit, store a seasonal sail once you stop using it and before forecast storms or snow.
Say you have a 10 ft (3 m) triangular sail without a label. Tomorrow’s forecast calls for gusts of 25 mph (40 km/h) and wet snow. Take the sail down in today’s calm daylight. The snow forecast settles the decision even if you can’t find a wind rating.
How to lower a sail with turnbuckles
Once the weather is still and the cloth is free of pooled water, ice and snow, move the chairs and planters out of the way. Ask someone to hold the loose cloth as each corner comes down. If you can’t reach the connections from a safe working position or the sail is too large for you to control, book the installer.
Before touching the hardware, take a photo of the whole sail and each fitting. Give each corner a label that matches its anchor, such as house left, house right and far post. Record which face is up. If the maker recommends it, mark the turnbuckle’s thread position as a reference for spring. The cloth or fittings may have moved by then, so use the mark to get close and set the final tension by the manual.
- Support the corner. Follow the maker’s lowering procedure. Some wire-edge designs use a temporary rope at the corner so it can be lowered gradually. Set up the temporary support before undoing the fitting. Attach it to the sail’s corner ring as shown in that system’s instructions, not to a loose turnbuckle; wear gloves when handling the rope.
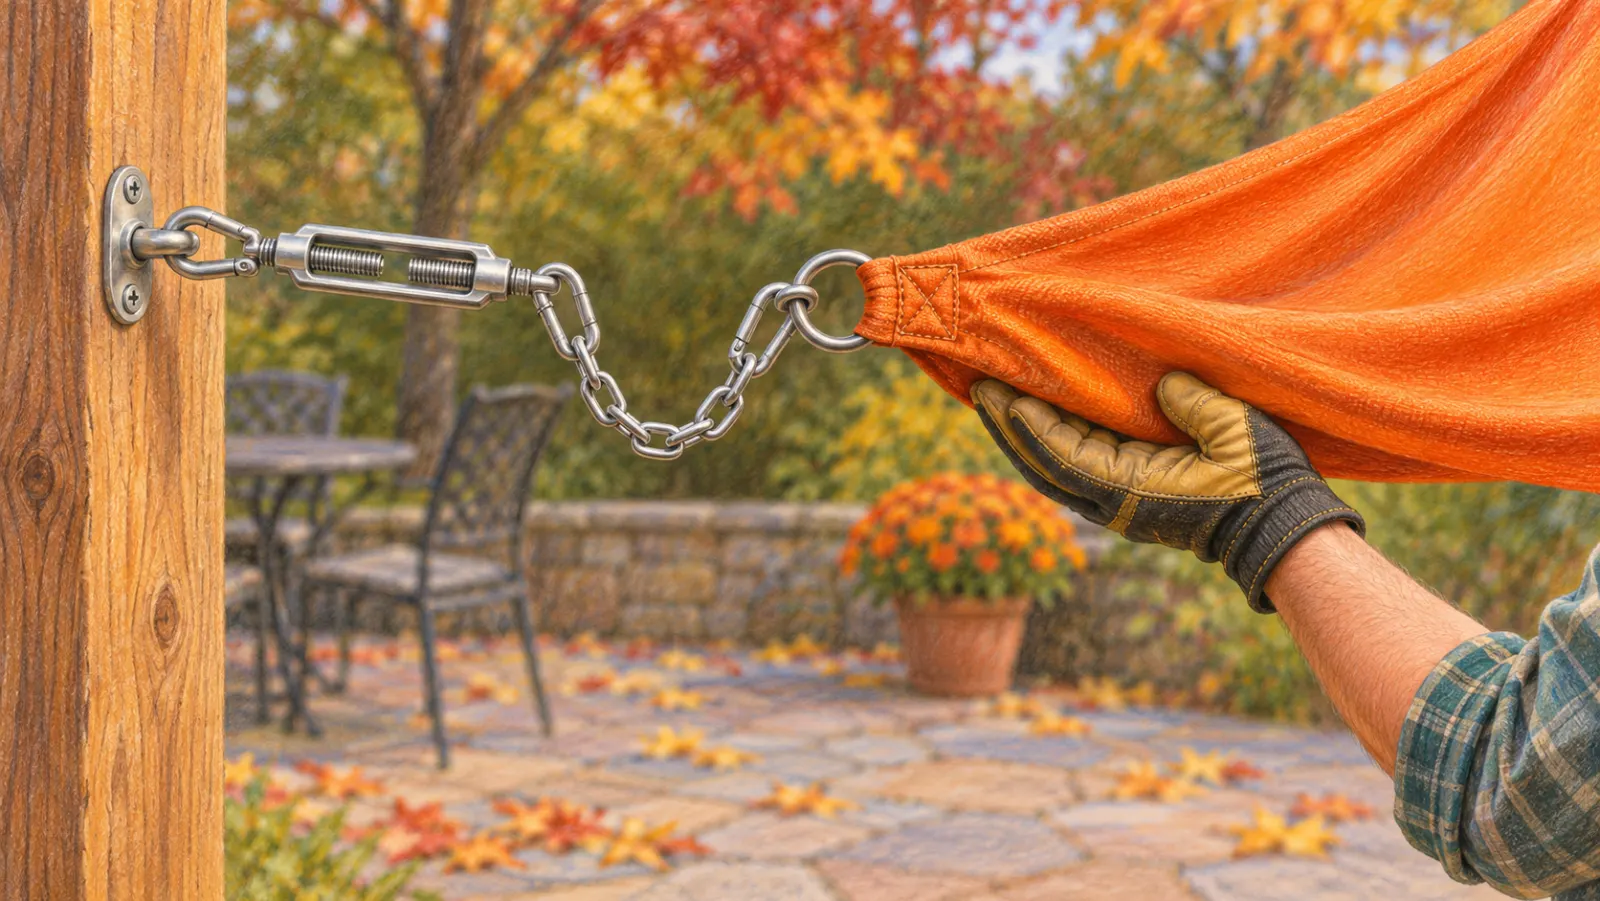
- Release the tension. The threaded link between the cloth and the anchor is the turnbuckle. Back off its locknuts if it has them, then turn the body slowly to lengthen it. An open-body fitting may take a screwdriver through the body; a closed-body fitting may have a tool hole. Use the tool specified for yours, with adjustable pliers or a wrench for the locknuts. Ease another adjuster if needed. Keep the threads engaged as the maker specifies. If a fitting is seized or you can’t get slack within its adjustment range, stop and get help.
- Unclip once the fitting is slack. Keep out of its line of pull and lower that corner into your helper’s hands. Work through the remaining attachments with the cloth supported. The last corner can be holding most of the sail’s weight.
On a small rope-tied sail, use the same order of work with the rope adjusters. Lower each supported corner under control and keep the loose fabric from dragging over pavers. For a pulley, track or retractable system, use that system’s release sequence. Undoing a wall plate or cutting a loaded rope can release the whole corner at once.
Wash according to the fabric label
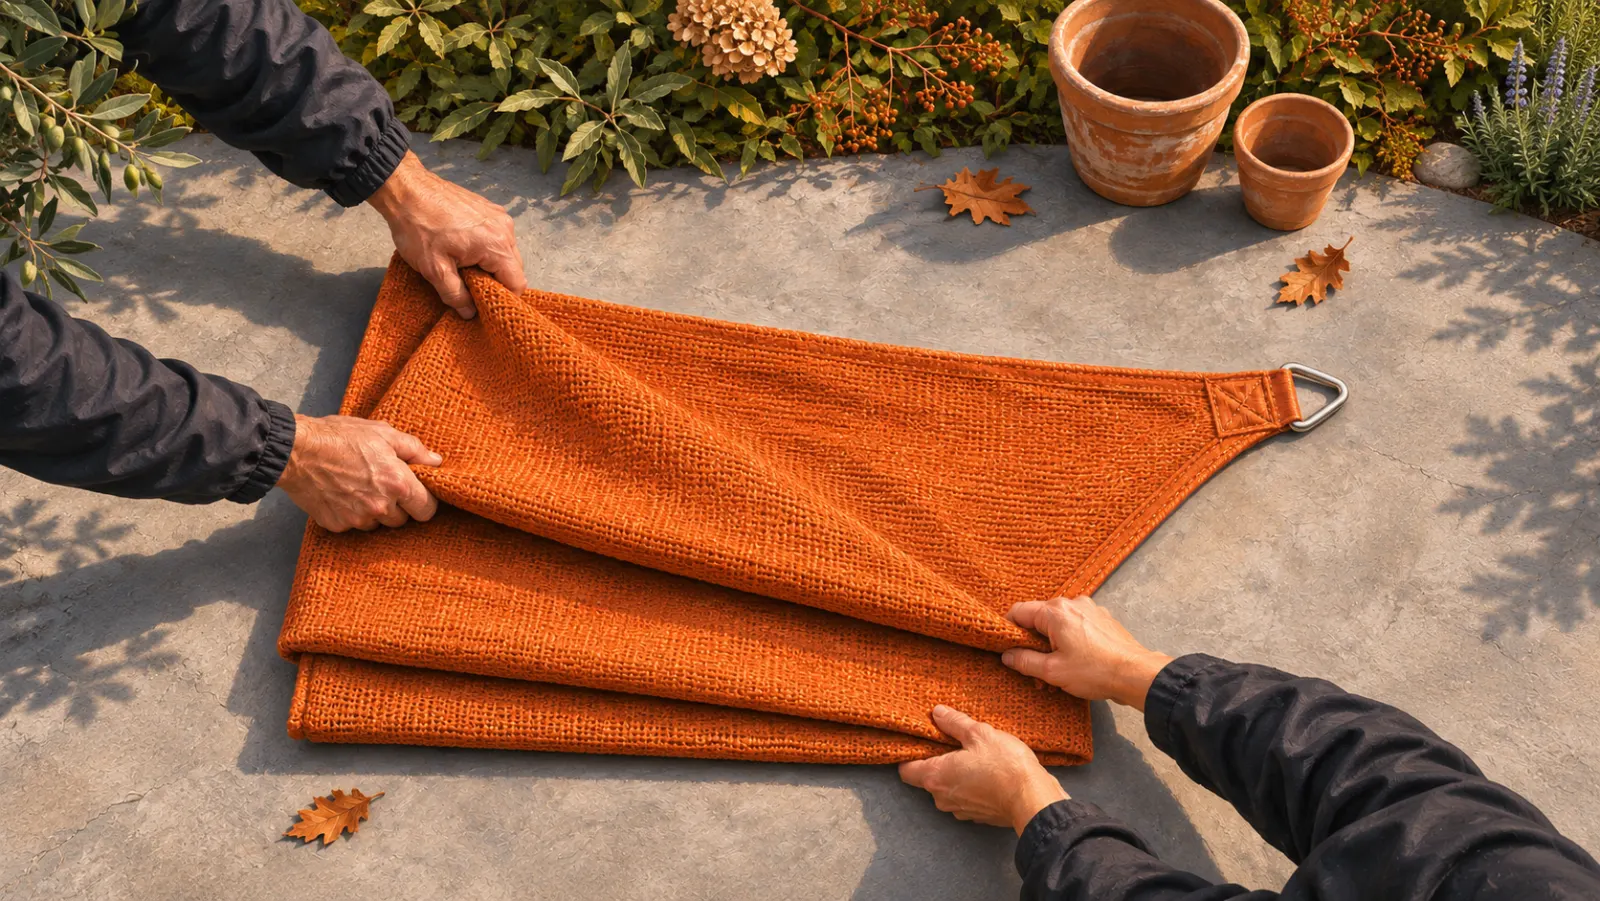
Give the sail a thorough clean before winter storage; an annual deep clean removes accumulated dirt and droppings. Spread the sail on a clean, smooth surface and put loose hardware aside. Shake off leaves and rinse both faces with a gentle garden hose. Check the care label before adding detergent. Some models need water alone. A model’s water-only instruction takes priority over generic advice to use soap. Leave stubborn stains on an unidentified sail until you find its care instructions.
| Sail or care label | Default cleaning action |
|---|---|
| Unknown fabric or missing label | Rinse gently with water only |
| Coolhaven square | Use a garden hose |
| Ready-to-Hang rectangle | Hand wash with mild soap |
| Shade4You HDPE | Use soft brush and neutral soap |
| Shade4You PVC | Use mild soap and soft sponge |
| Shade4You Decor or meshflag | Use permitted 86°F (30°C) cycle |
If mild detergent is allowed, start with a small dirty patch and a soft sponge. Let water soften dried bird droppings or grit before you wipe. Use light pressure around the stitching and corner webbing. The Shade Solutions guide leaves mild detergent on the fabric for 10 minutes. The CoverCorp guide leaves its diluted sugar-soap solution on for 15–20 minutes. Follow the time on your care sheet, rinse thoroughly and ask the maker about marks that survive the gentle wash. Leave a mark alone if removing it would mean scrubbing the stitching.
Hand wash a coated or waterproof sail if its label permits washing. Use a sponge and a cleaner that the maker approves for the finish. For the machine-washable Shade4You fabrics listed above, skip the spin cycle and air-dry. Wash its stiff Mesh 270 fabric by hand. For that maker’s HDPE and PVC, hold the garden hose about 20 in (0.5 m) away. Avoid pressure washers unless the exact model’s care sheet permits them: the jet can damage fibers. Keep bleach, solvents, abrasive cleaners and stiff brushes away from the fabric and seams. Don’t use a household mold remover unless the sail maker approves its ingredients.
Dry the thick parts before you roll it up
Air-dry the sail open, with room for air on both faces. Trapped moisture can cause mildew during storage; a dry-looking center isn’t enough. Lift it off damp paving and turn it over so the underside can dry. Feel the folded hems, reinforced points and corner straps. Press a dry cloth against the thickest seam. If it comes away damp, leave the sail open longer. On a still, damp day, move the cloth under cover where air can reach both faces.
Check the clean fabric for gaps in the stitching, splits at the corners and wear where it touched a branch or post. A maker or sail repairer can assess worn stitching and small tears before the sail goes under tension again. Photograph questionable spots before folding. Bag detachable steel fittings separately and pad integral rings so they don’t rub a hole in the next layer. Brush off any twigs before each fold.
Use the manufacturer’s bag or a clean, sturdy storage bag. For a sail whose instructions allow it, fold side to side, then roll the folded cloth. Follow a different packing method if your coating needs it. Store the bundle on a shelf in a cool, dry indoor place, away from rodents, fuel and oils. Put the bag of fittings beside it.
Before it goes back up in spring
In spring, look at the anchors before opening the bag. A loose wall plate, bent connector or post that moved over winter needs attention before you pull on it again. Replace suspect fittings with parts specified for the system, and use only the maker’s lubricant where called for. A sail that still sags after the correct tensioning sequence needs inspection before you leave it up in rain.
Check the fabric again as you unpack, including the hems around any perimeter cable. Use the labeled corners and photos to restore the orientation and drainage fall, and apply tension a little at a time. For a cable-edged sail, restore the perimeter cable and its clamps in the model’s full installation sequence before final tensioning. A large sail that needs a pulley for the final corner is an installation job; allow time for that rather than expecting a quick reversal of removal. Stop when the sail is firm and evenly tensioned, without sagging; don’t keep cranking to flatten every fold. Secure the locknuts on fittings that have them. Watch where the first light rain drains from a waterproof sail. If it collects in the middle, take the sail out of service and correct the setup before the next downpour.