How to Store Dahlia Tubers Over Winter
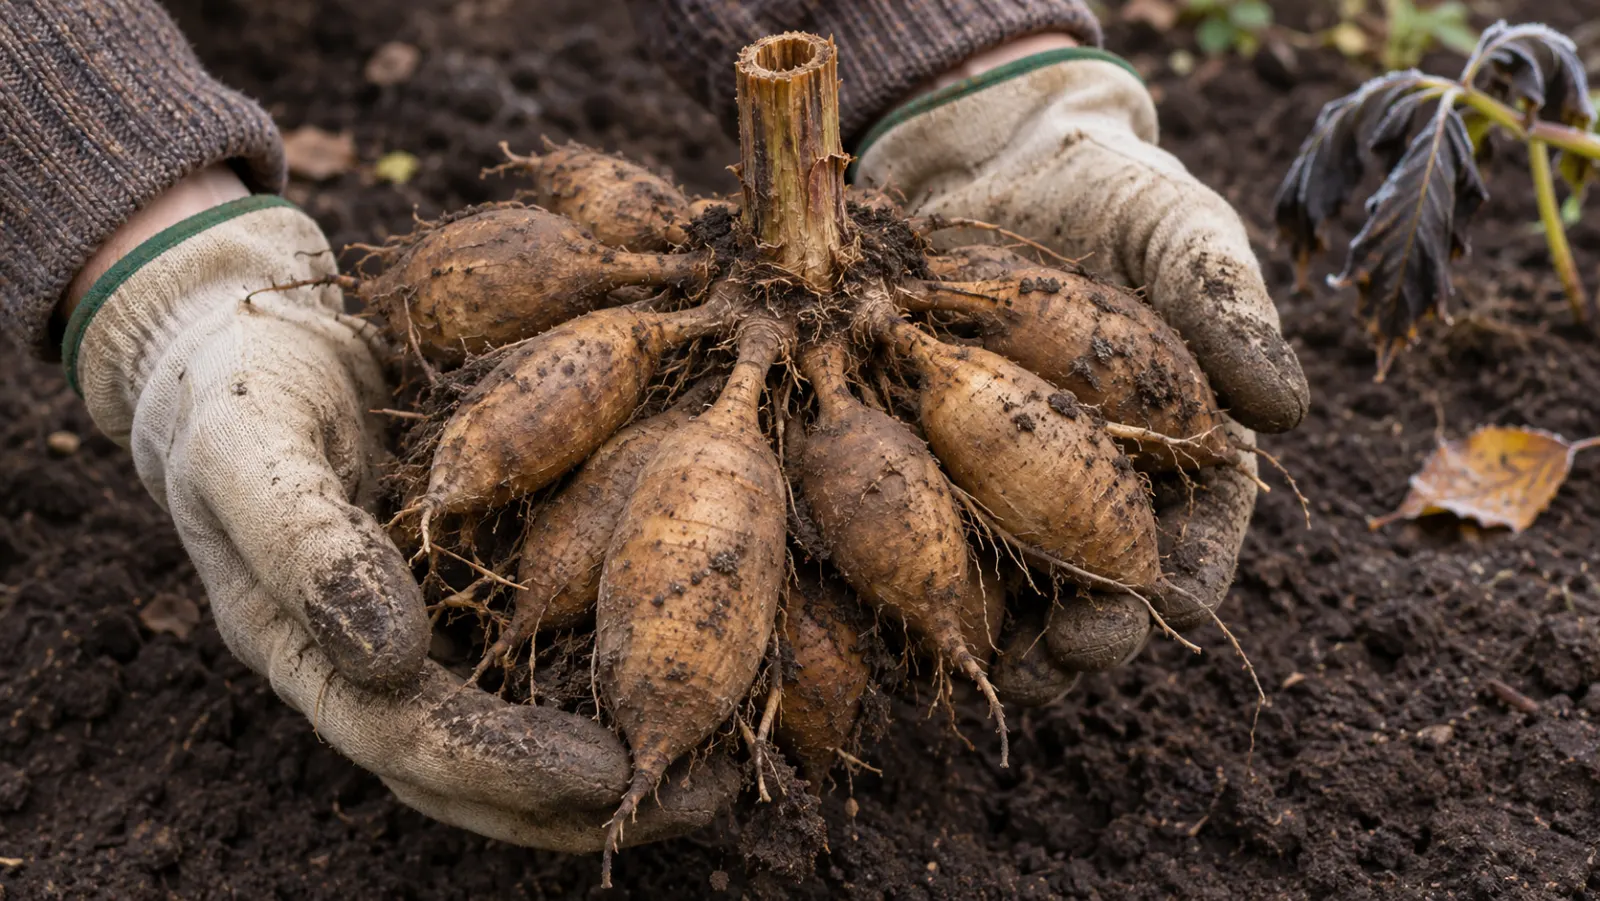
Lift dahlias once frost blackens the leaves, while the ground is still workable. For a small collection, keep the clumps whole, dry them stem down, and pack them in a shallow box in a cool, dark place near 40°F (4°C).
Which dahlias should you lift?
Lift dahlias from ground that freezes or stays wet. Leave them outdoors only in a mild, free-draining bed; lift a favorite cultivar rather than gambling on its first winter there.
| Where they grow | What to do |
|---|---|
| Border where soil freezes deeply | Lift before the ground freezes. |
| Clay bed wet for much of winter | Lift, even if winter is mild. |
| Free-draining bed; mild winter | Cut back; mulch crowns 6 in (15 cm). |
| Patio pot too large to store | Lift and pack the tubers. |
| Dry pot; cool, reliably frost-free shelf | Move the pot under cover. |
Mild maritime gardens in the UK, Ireland, Atlantic Europe and the Pacific Northwest may suit the mulch method. Cold continental gardens across Canada, the northern US and inland Europe usually call for lifting. Drainage can overturn that distinction: a coastal clay bed may stay too wet even without much frost. For the outdoor method, use loose bark, chopped stems or garden compost over the cut-back crowns, at the depth in the table.
For a manageable pot with healthy tubers and potting mix that isn’t sodden, moving the whole container is the easiest option; dig out the tubers if the pot is too heavy or the mix stays wet. Once the tops have died, keep the pot out of rain and stop routine watering. In a very dry room, lightly moisten the mix only if it goes bone-dry. A jacket around a pot slows cooling; it won’t keep the contents from freezing through a long cold spell. A dormant dahlia can spend the winter in the dark.
Lift the clump without breaking the necks
Label varieties while you can still tell them apart. Tie a weatherproof label to a stem, then put the same name on the box or on a tag among the tubers. Seed-grown dahlias form tubers in their first season too; save the plants you liked best. Gather a garden fork, pruners (secateurs), a tray or newspaper and a box before starting.
- Use the first frost as a cue. Lift after frost blackens the foliage or it dies back naturally; dig sooner if the soil is becoming waterlogged or a ground freeze is coming. In a mild UK autumn with late frosts, lift by late November rather than waiting indefinitely for black leaves. Elsewhere, use local dieback, drainage and the approaching soil freeze to set the date. When the ground is safe and you plan to divide in fall, leaving cut plants in place for three to seven days can make the eyes easier to find. Skip that wait when a freeze is likely.
- Leave a short stub. Aim for 4–6 in (10–15 cm) of stem when cutting. The full recommended range is 2–6 in (5–15 cm). That leaves enough stem for the label and makes the crown easy to find.
- Work around the clump. Start the fork about 1 ft (30 cm) from the stem; give a big clump 18 in (46 cm) of clearance. Loosen the soil from several sides. Get the fork underneath, then support the clump from below as it comes free. The narrow neck joining each tuber to the crown is easier to break than it looks.
- Shake off loose soil. If you’ll store the clump intact, leave a little dry soil clinging and skip the wash. If sticky clay hides damage or you need to see the eyes for fall division, a gentle rinse is useful. Use a low stream and don’t scrape with a blade. Trim off badly damaged or broken-necked tubers. Keep healthy clumps intact until spring: fresh division wounds give rot an entry point during storage.
Let the hollow stems drain
Set whole clumps stem down in an airy, frost-free place, with room for water to drain out. The outside may lose its wet sheen in a few days while a thick stub still holds water. Published whole-clump drying times run from several days to a week, through one to two weeks, to a few weeks. A muddy, thick-stemmed clump takes longer than a small, lightly soiled one. Allow space for that longer window, but pack as soon as the surfaces, clinging soil and hollow stems are dry; tubers should still feel firm. Don’t leave them baking on a sunny bench once they’re dry.
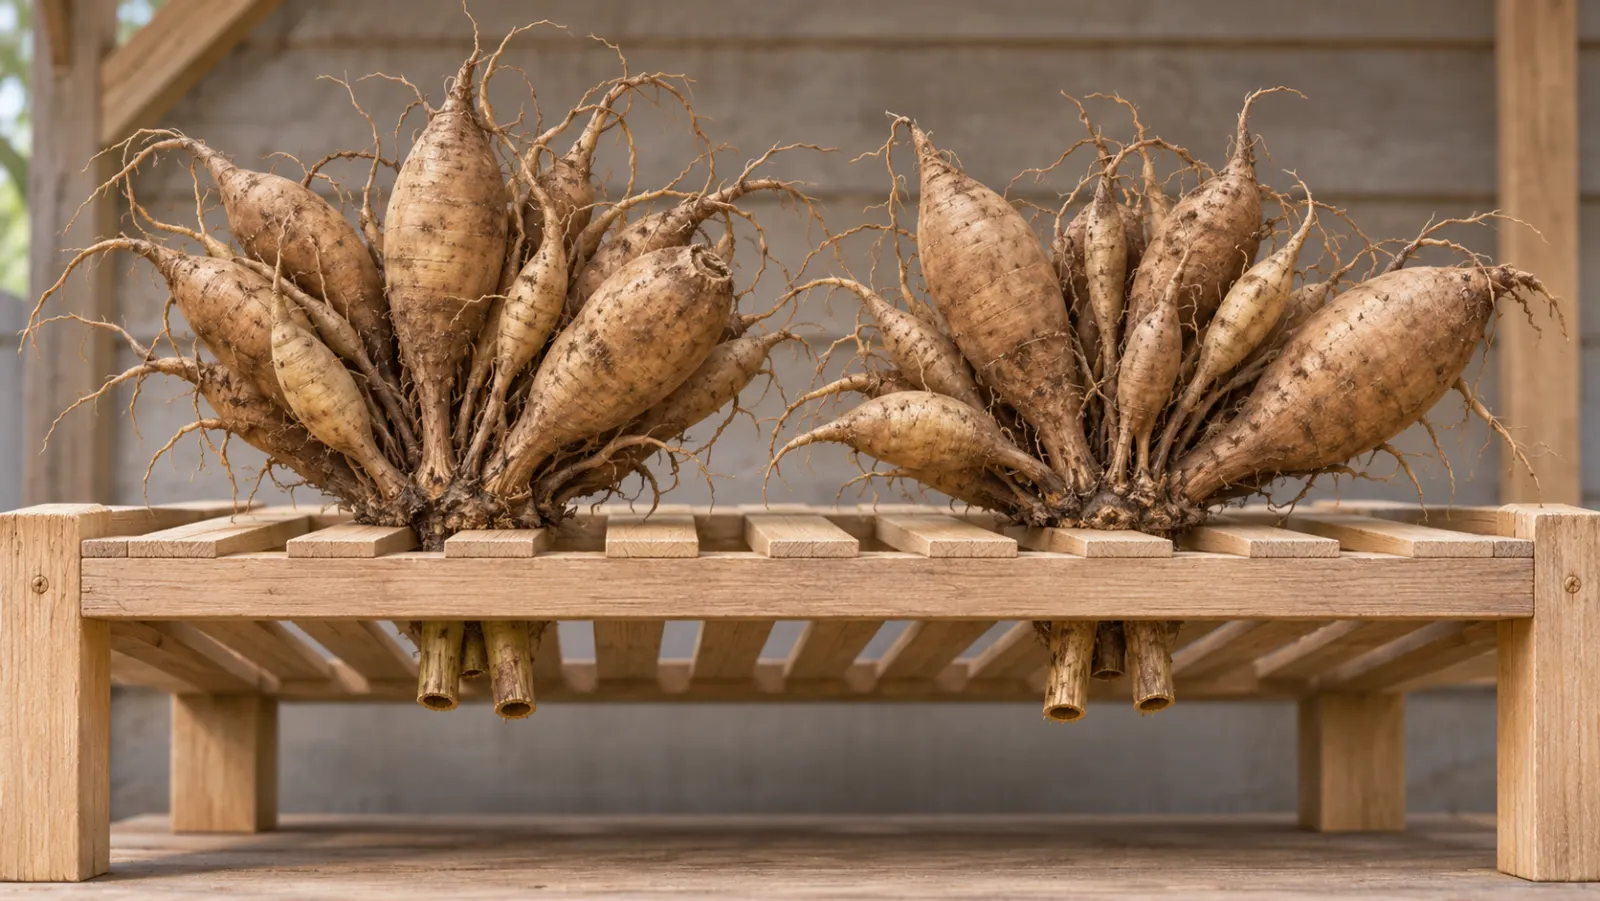
Divide in fall only if you need the space or want to count your planting stock now. Dry the rinsed clump first, then keep a firm tuber, intact neck and a piece of crown with a visible eye in every division. After cutting, allow a day or two for the cuts to dry and heal. Disinfect the blade between plants to avoid spreading viruses. Label each division before the loose tubers get mixed together.
Find a shelf that stays near 40°F (4°C)
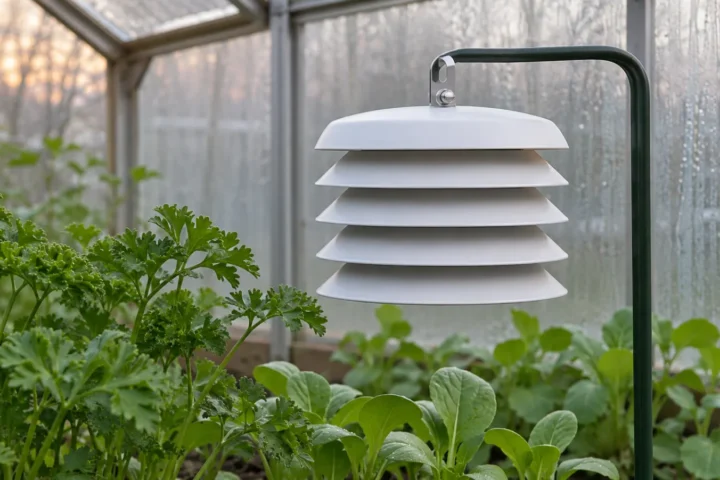
Put a min–max thermometer where the box will sit. A dark cellar shelf, a cool attached garage or a frost-free shed can work. In a greenhouse, take the reading next to the box and out of direct sun. Check on a cold night and a sunny day. A room can be cold enough at floor level to freeze a box while the thermometer by the house door looks reassuring.
For a home store, aim near 40°F (4°C) and look first for a shelf staying around 35–45°F (2–7°C). The colder methods emphasize dormancy; the warmer band comes from a different packing routine. Favor the cool end for a long winter without shoots. Cool conditions slow growth; packing and room humidity control how fast moisture is lost. Move the box before its shelf reaches 32°F (0°C), and seek a cooler spot if it regularly exceeds 50°F (10°C) or shoots begin growing. Dry paper or fleece can buffer a brief cold spell while you arrange a safer location.
Say your shelf beside the garage door runs from 30–46°F (−1 to 8°C), and a cellar shelf reads 38–43°F (3–6°C). Use the cellar. The cellar stays within the practical storage band; the garage goes below freezing. Check again after the first real cold snap, especially if your trial was in mild weather.
Pack the box for the room you have
Start with a shallow cardboard or wooden box and coarse horticultural vermiculite. Put some under the clumps and add enough to cover the tubers without crushing the stems. Separate clumps or divisions with packing material so they don’t touch. Choose the coarse grade: it produces less dust than fine vermiculite and gives you packing you can adjust if tubers begin to shrivel. Choose a box wide enough to keep clumps apart and shallow enough to inspect without unloading it.
A reused crate lined and covered with dry newspaper is the cheap option in a cool room that doesn’t dry things out quickly. Dry spent potting mix, dry sand or clean straw also work in open boxes. Pick paper if you’ll be carrying boxes far; sand adds weight. If you use wood shavings you already have, look in sooner: shavings can leave tubers shriveled.
Whole clumps can start in dry packing. For divided tubers prone to drying out, barely damp coir or sawdust is another method: let the cuts heal first and keep the pieces apart. The aim is a firm tuber without droplets collecting in the container. Choose one method, then correct it from what you find at inspection rather than watering every box on a schedule.
In a dry cellar, a reusable plastic tote with a ventilated lid or an open bag inside a crate holds more moisture than bare cardboard. Leave a path for air to escape; a snapped-shut lid or tied bag traps water. In a humid garage, use the open box and keep it on a shelf off the floor. Where mice visit, a screen over a sturdy tote lets air pass while keeping them out. Split a particularly valuable cultivar between boxes if you have several sound clumps.
Read what the tubers are telling you
Look in early after packing, then about once a month once the box is stable. A firm tuber can stay where it is. If you only see a faint wrinkle, feel the packing before you reach for water.
- Droplets on a bag or lid: Open the container and let it air. Inspect the low points, remove anything rotting, and replace wet packing before returning sound tubers. Use a more open box if droplets come back.
- Soft, wet tuber: Take it out before rot spreads. Look at the crown and neighboring tubers; keep only the firm, sound ones. If several clumps went soft after a freeze, move the sound ones and find out how cold the shelf got.
- Wrinkling but still firm, with bone-dry packing: Give the surrounding vermiculite a very light mist and check again before adding more. Don’t soak the tuber. If the box has been standing in a draft, try a less exposed shelf.
- Shoots too early: If you can still move the box to a cooler, stable shelf, do that. If shoots are already growing and you have bright frost-free space, pot the clump and grow it on there rather than planting it in cold soil.
Wake, divide and replant in spring
Keep the whole clump for one big plant, or split it once you can see where the shoots will come from. A sound division needs a firm storage root, an intact neck, and a bit of crown with an eye or shoot. A plump tuber snapped off below the crown won’t grow. If the eyes are hard to see, move the clump into 40–50°F (4–10°C) to encourage visible buds. For a head start indoors in early spring, set the clump crown up in a shallow tray of peat-free potting mix, with the old stem base just below the surface. Keep the mix only slightly moist while it wakes. Divide when shoots are about 1 in (2.5 cm) tall, then pot the pieces separately in a bright, frost-free spot. If you lack that growing space, leave the tubers dormant until outdoor planting conditions are close.
For direct planting, wait until frost danger has passed and the soil holds about 60°F (16°C) for several days. In a bed for tall border or cutting dahlias, set dormant tubers horizontally with eyes up in holes 4–6 in (10–15 cm) deep, about 2 ft (60 cm) apart. Put in a stake first if the cultivar needs one. Start with slightly moist soil and hold off on routine watering until the first two leaves appear. For leafy plants started indoors, harden them off and wait for frost-free conditions with temperatures consistently above 41°F (5°C); plant at the depth they grew in their pots.
If your dahlias spent winter in the bed, pull back the protective mulch in spring as frost danger passes, so new growth can emerge into the light.