How to Check Your Greenhouse Hygrometer With Salt
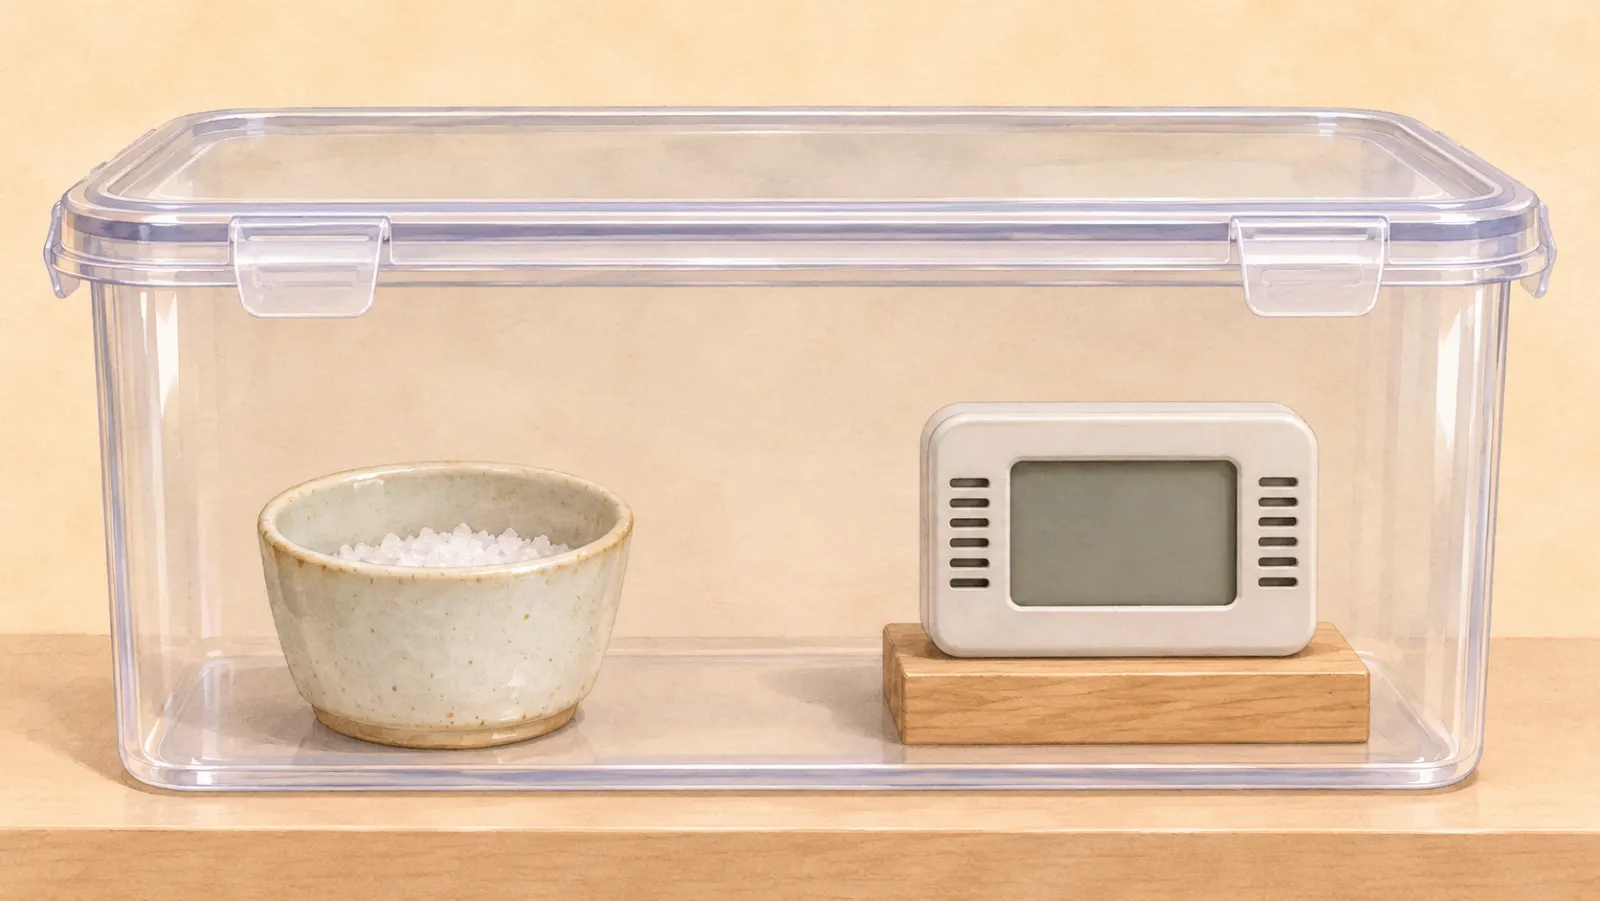
To check your greenhouse hygrometer, seal it in a clear box beside a cup of damp table salt. Keep the meter dry and leave the box at a steady room temperature. Once the reading stops moving, it should be near 75% relative humidity (RH). Before you adjust anything, compare the result with the meter’s stated accuracy.
If one meter makes the greenhouse look much damper than another, test them side by side before you change the fan setting. If they disagree, swap their positions in the box and let them settle again.
What should you do with the salt-test result?
Start with the humidity accuracy in the manual, in percentage points. The numbers below assume a chamber at 68°F (20°C) and a meter rated ±3 points there. The reference at that temperature is about 75.5% RH.
| What the meter does | Your next step |
|---|---|
| Holds at 75% RH | Keep settings; use for broad trends. |
| Still climbs after 12 hours | Keep sealed; read again later. |
| Holds near 72.5% or 78.5% | Repeat before changing settings. |
| Holds at 81.5% twice | Confirm against a better reference. |
| Near 75%; fan switches at 90% | Verify closer to the switching point. |
Why damp table salt gives you a reference
Wet salt crystals set the humidity in a sealed box. If the air starts dry, water evaporates from the brine. If it starts wetter than the equilibrium point, the solution takes up water. The air settles near a predictable humidity while liquid and undissolved salt are both present. Keep some wet crystals visible throughout the test.
The equilibrium changes a little with temperature. Plain sodium chloride gives 75.47% RH at 68°F (20°C) and 75.29% at 77°F (25°C). A meter that shows whole numbers has no use for the second decimal place. Use about 75% for a quick check and about 75.5% for a comparison at 68°F (20°C) if your meter displays tenths. Choose plain sodium chloride, preferably without iodine, flavorings or anti-caking additives. A low-sodium substitute containing potassium chloride makes a different reference.
A cold meter brought straight in from the greenhouse can give you a bigger error than that change in the salt reference. In a controlled chamber at 68°F (20°C), a sensor-to-air difference of 1.8°F (1°C) can shift the reading about 3 points at 50% RH and about 6 at 97%. Put the meter, cup and empty box on the same indoor shelf for about an hour before testing. If the meter arrived cold or dripping, wait until it’s dry and at room temperature. Avoid a windowsill, a radiator shelf, and the path of a heating vent.
Set up the salt test
- Choose a clear box with an airtight lid. A small food container is easy to set down without tipping the cup. A clear lidded jar works for a compact meter; use a resealable bag only if it can sit upright and close without pinching the probe or tipping the salt. If you’re testing a tiny meter in a bag, a clean bottle cap holds enough paste for the small-cap method. Use a taller cup in a rigid box if the bag won’t stay upright.
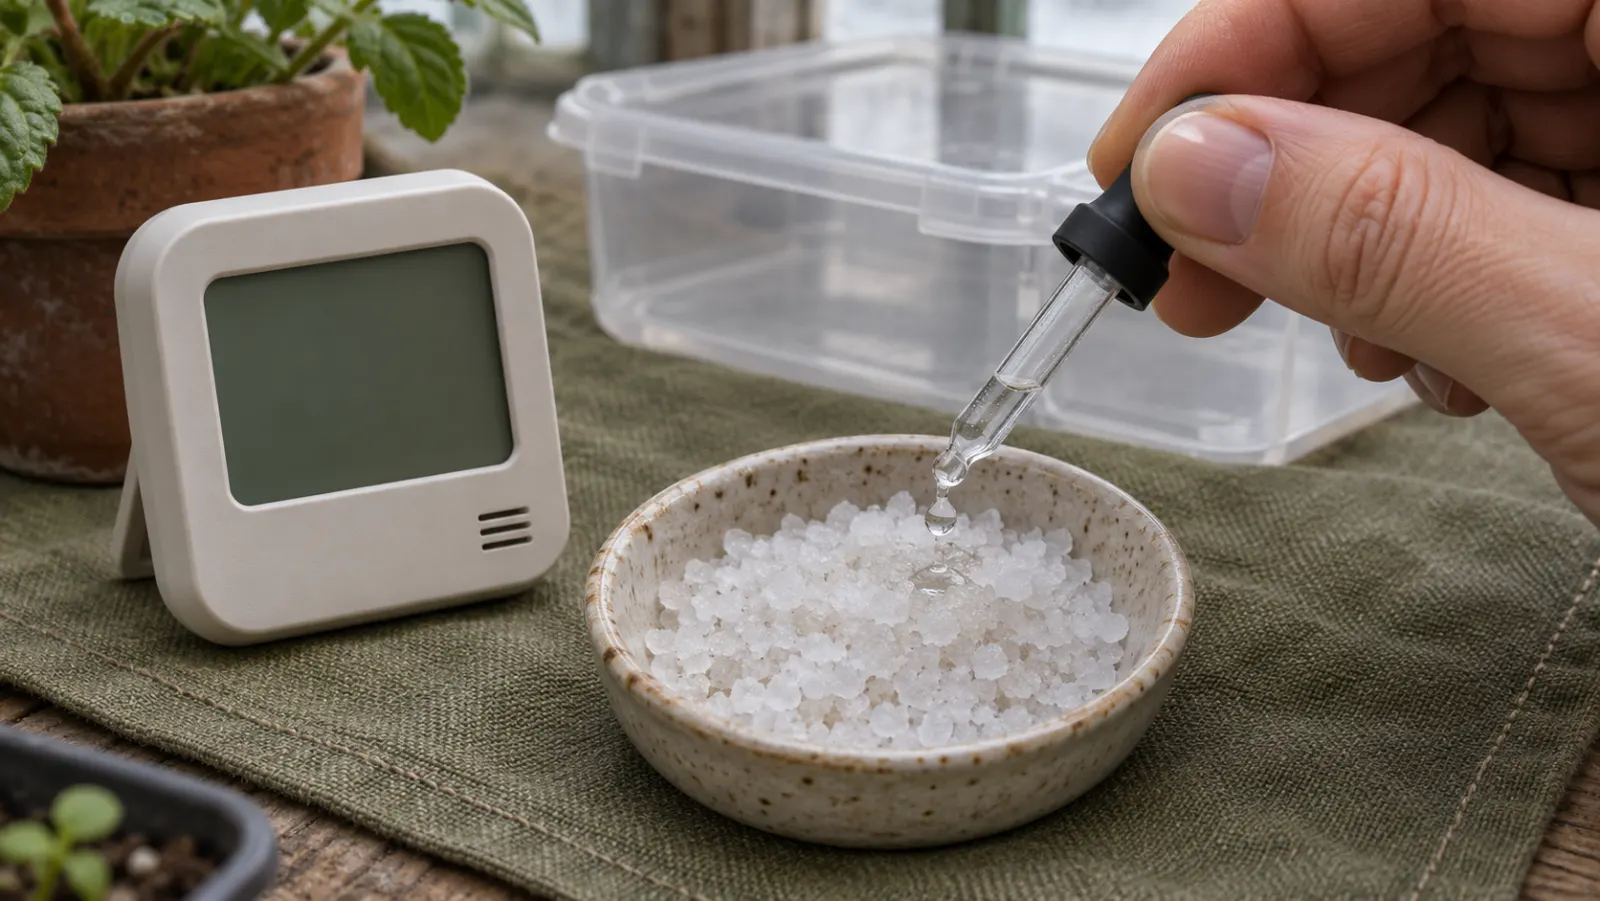
- Make a wet salt paste. Put about ½ in (13 mm) of salt in a sturdy cup. Stir in distilled water a little at a time. Stop when all the salt looks wet and plenty of crystals remain. If you’ve made a puddle with no crystals, add salt and stir. No need to weigh a batch, though one manufacturer starts with 2 US tablespoons (30 mL) of salt and 1 US tablespoon (15 mL) of water. Stop adding water as soon as the crystals are evenly wet.
- Keep the sensor in the air. Set the meter upright next to the cup on a dry stand, with its vents clear and display facing out. Keep a dial instrument in its normal operating position; laying it on its back can shift the pointer. The sensing end of a remote probe belongs in the box; a wall controller or mains-powered display does not. If the cable stops the lid sealing, use the maker’s probe chamber or compare with a calibrated meter in shared air. Don’t put the probe in the paste. Brine and salt deposits can damage the sensor.
- Seal it and write down the start time. Include the chamber temperature if you can read it through the lid. Leave the box on its shelf while reading it; holding it warms the chamber. For a wireless logger, watch the current readings or logged samples, not a daily high or an old phone reading. If the device stopped reporting when you closed the box, the last number on the app won’t tell you when the test is done.
How long should the box stay closed?
Start in the evening and take your first decision reading after about 12 hours. You can watch through the lid during the first 30–60 minutes to see whether the sensor responds; save the adjustment decision for later. Take a second reading through the lid later in the same stable room. If it’s still climbing or falling, keep the box shut. A flat reading can still come from a bad seal, so repeat a surprising result with fresh paste and a different airtight container before blaming the meter.
You can see the reading move well before you can use it. Wait times range from one to two hours in an agricultural extension setup, with a first look after half an hour, to six hours for a bottle cap in a bag and six to eight hours, preferably twelve, in one digital-meter guide. Ambient Weather specifies 96 hours for its bag method. Both the air in the box and the sensor take time to settle. The overnight check is a practical starting point for a home box; follow a longer procedure if your instrument specifies one. Record the final reading before lifting the lid.
Use the meter’s rating before adding an offset
Look for an accuracy specification that covers the humidity and temperature you’re testing. Agricultural meters commonly started with ratings of ±2–5 percentage points; use your model’s rating, not that general range. A display resolution of 0.1% RH tells you how fine the digits are; a specification of ±3 percentage points tells you how far the result can be off under the stated conditions. The reference plus or minus that rating gives a nominal comparison band. A result near an edge needs another check, not an immediate adjustment.
Correction = reference − displayed reading. Say your meter is rated ±3 points and twice settles at 81.5% RH in a box at 68°F (20°C). Subtract the reference: 81.5 − 75.5 = 6 points high. That’s outside the nominal 72.5–78.5% band. If a better reference confirms the result and your display adds a user-defined correction, enter −6 points. A display reading 6 points low needs a positive correction. Adjust only through the model’s own menu or procedure, then run the test again to verify the direction and result.
For a digital meter, use its humidity-offset menu if it has one. On an adjustable analog dial, use the maker’s procedure: Fischer lets its dial return to room air for at least an hour before shifting the pointer by the inverse error. Don’t set an exposed dial to 75% after opening the box; the surrounding air has already changed. If there’s no adjustment, write the test result on the back of the meter and use it as a rough indicator near the test point. Replace a cheap fixed meter if a better reference confirms it misses its rating and you need a dependable number.
When the salt test isn’t enough
A kitchen salt box is best for spotting a large error. Salt purity, temperature and the seal affect the reference: Fischer estimates about ±5 points for additive-free table salt in tap water. Distilled water removes one variable, but doesn’t give your particular box a known uncertainty. A reading inside the graphic’s band therefore doesn’t certify the meter’s stated accuracy. For a close call, use a certified humidity standard or a calibrated comparator with a stated uncertainty small enough for the difference you need to resolve.
A clean 75% check is useful for tracking broad changes in the greenhouse. If a relay switches a fan near 90%, compare the sensor against a calibrated meter in a stable shared environment closer to that setpoint, or use the manufacturer’s high-humidity reference procedure. A one-point correction can change across the range. You may see a general rule of 10–15 points either side of a check; don’t extend that into a guarantee for a fan trigger. Verify near the trigger itself. A correction in an app may also leave the relay’s input unchanged, so compare the controller’s live probe reading.
With purpose-made chambers, different salts produce different check points. At 77°F (25°C), magnesium chloride gives about 33% RH, potassium chloride about 84%, and potassium sulfate about 97%. For multiple reference points, test the dry point first.
Use a high-humidity salt chamber only with a probe rated for those conditions. Hours above 95% RH can upset the accuracy and stability of ordinary agricultural meters. For a household unit, choose a calibrated comparator near the working setpoint instead of an improvised 97% chamber. A damp towel gives no defined humidity at the sensor; keep electronics out of wet towels and steam.
Spend nothing on the first check if you have salt and a clear box. For occasional repeat checks, a ready-made reference pouch or chamber avoids mixing your own paste; choose a stated reference value near the reading you need. If a controller makes decisions for you every night, borrow a calibrated reference meter or pay to have the probe checked at its working humidity. Choose a calibration kit with a stated reference value, tolerance and usable temperature range; a humidity pack sold to condition stored goods may be too imprecise for the job.
Put the sensor back where it can tell you something
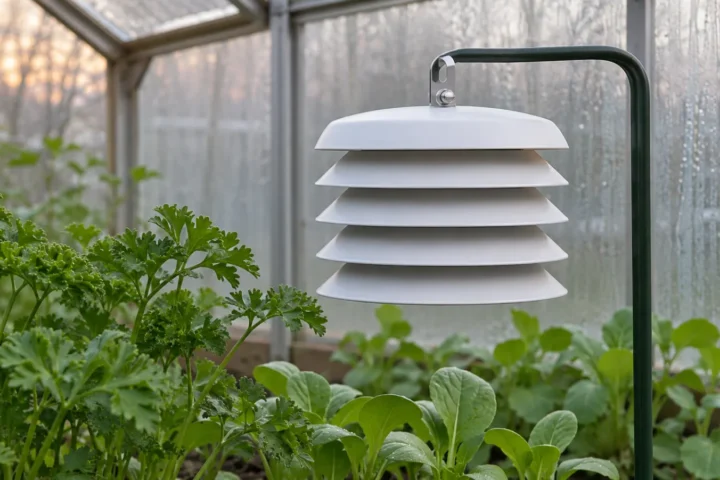
Mount it in moving, shaded air near the plants you’re watching, away from glazing drips and the direct blast from a fan or heater. Use the same siting checks you’d use for a greenhouse thermometer; a warmer sensor can read a lower RH even in air with the same moisture content. When you first remove it from the salt box, note how long it takes to settle in room air. Allow that recovery time after moving it again; 15–30 minutes is common, with lag when conditions change quickly. For faster field response, an aspirated shield moves air past the sensing head; about 100 ft/min (0.5 m/s) is one agricultural setup. That airflow belongs in the field mounting, not inside your sealed test box.
If the salt check shows no large error but a corner still looks damp, move the suspect meter and a second one into the same shielded location. If both read higher there, compare the corner’s temperature and airflow with the rest of the greenhouse; cooler air can have higher RH without extra water vapor. If the high reading follows one meter, test that instrument again. Wet glazing on its own doesn’t mean the hygrometer reads low: cold surfaces can collect dew while the air is below saturation.
When should you check it again?
For a home greenhouse meter, put a check on the calendar every six months, or about every three months under large humidity and temperature swings. Annual testing is another manufacturer’s routine interval; use the shorter schedule for a damp, unheated greenhouse. Check sooner after contamination, a wetting episode or a persistent disagreement with another meter, once the sensor is dry. Save the date, temperature, steady reading and any applied offset so you can spot drift.
Before handing a fan back to automatic control, watch one switching cycle against the reading at the probe. That’s the number to compare with the setpoint, not the daily maximum on the display by the door.