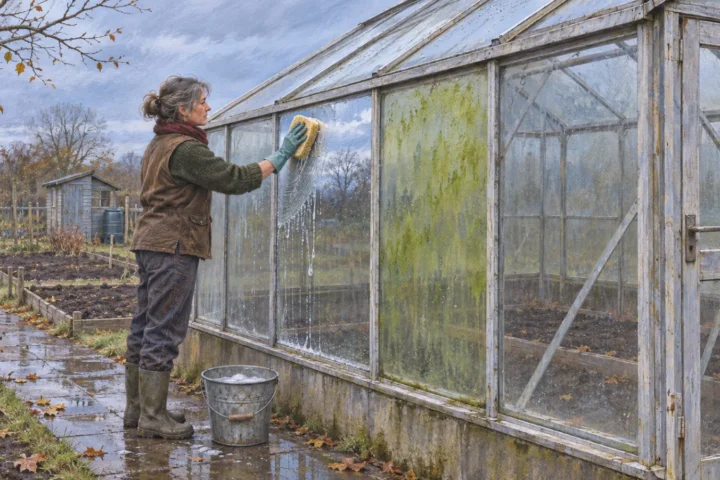
How to Clear Snow From a Greenhouse Roof
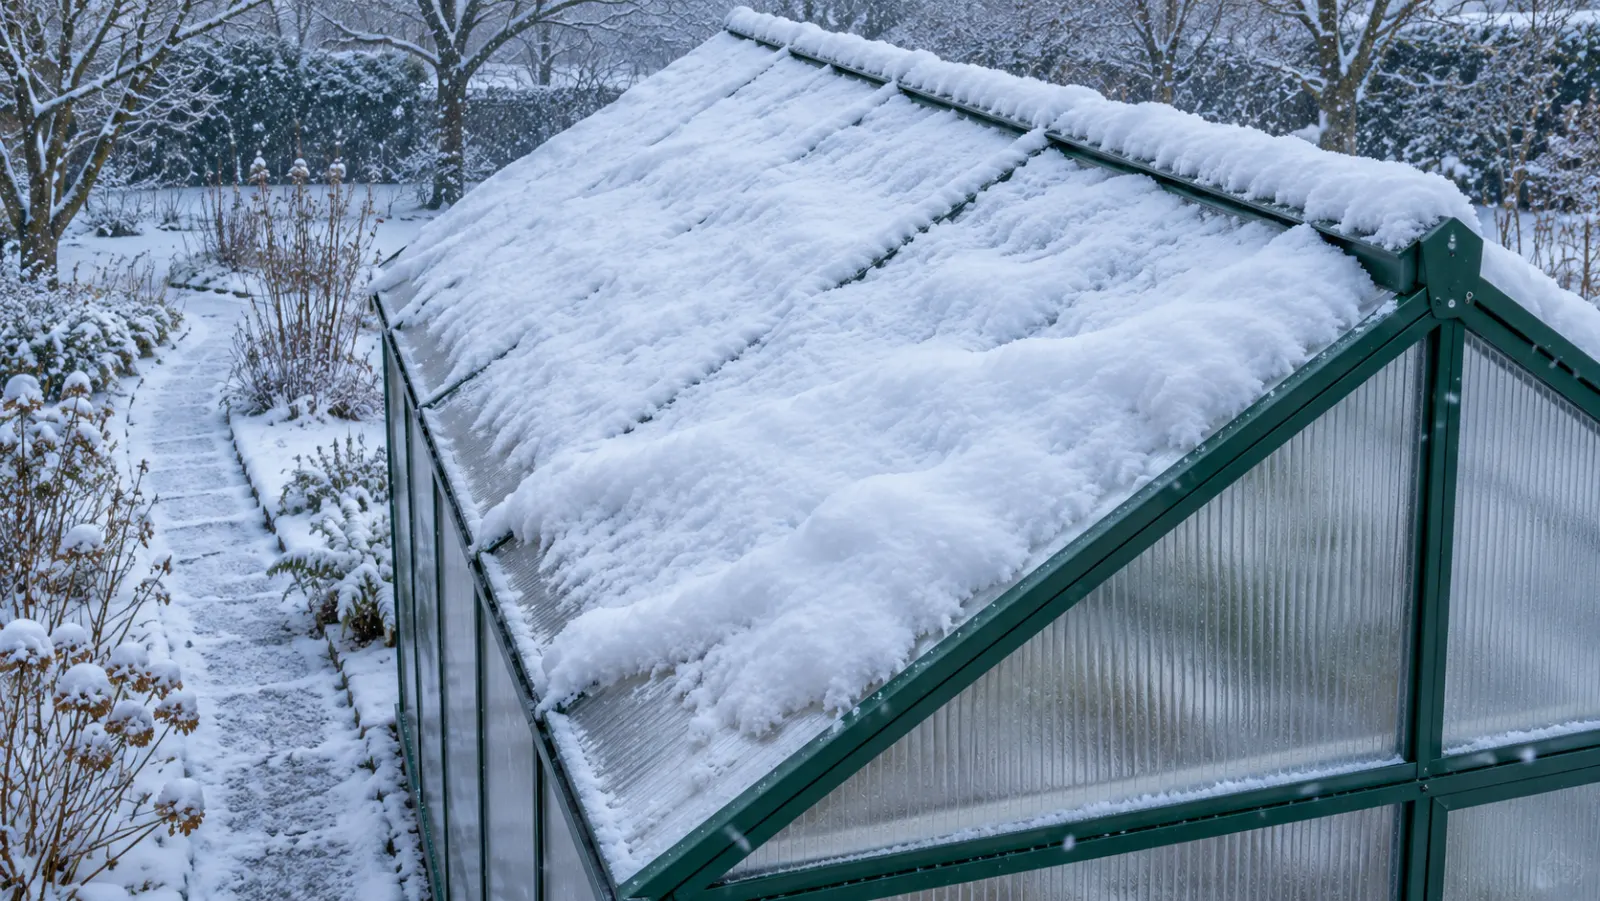
Clear loose snow early from a sound greenhouse if you can reach it from the ground and stay out of the path of sliding snow. Use a soft, wide broom on a long handle, working in small passes before the snow gets wet or freezes onto the roof. If the frame has changed shape, glazing has shifted, or you hear cracking, move away and keep people out. A greenhouse that may be failing needs a qualified inspection.
Walk around at a distance first. The side facing the path can look fine while a drift sits on the far slope. The same first check applies to a glasshouse, polycarbonate kit or film-covered hoop house (polytunnel).
Brush, leave alone, or get help?
| What you see | What to do |
|---|---|
| Loose snow on sound, reachable glazing | Clear gently from the ground |
| Thin wet snow; frame still sound | Clear promptly during a safe break |
| Heavy bank or inaccessible drift | Keep away; arrange professional assessment |
| Ice bonded to a sound pane | Leave ice attached and keep clear |
| Sag, shifted panes, cracking or binding door | Keep clear and arrange qualified inspection |
| Seasonal film tunnel, snow forecast | Remove film before snow if specified |
A newly bowed member or a door that jams as snow builds up can be a warning of structural overload. Treat a badly loaded roof with the same caution if you can’t assess it from clear ground. Keep children and pets away. If you’re already inside and can get out safely, leave. Get a qualified structural professional to assess a heavy or unstable accumulation before anyone attempts removal.
How much snow is too much?
There’s no safe depth that fits every greenhouse. Illinois Extension describes 1–2 in (2.5–5 cm) as unlikely to cause damage on some high tunnels, depending on the structure. That observation isn’t a clearance target for your house. Start with thin, loose snow while safe ground access remains available; act promptly before it becomes wet or freezes, and arrange professional help for heavy or inaccessible accumulations. Wet snow, ice and drifting can add substantial weight before a layer looks deep.
A foot of new powder and a foot of wet snow can put very different weights on a roof. FEMA’s fresh snow examples range from 3 to 21 lb/ft² (15–103 kg/m²) for the same 12 in (30 cm) depth. An inch (2.5 cm) of solid ice weighs just under 5 lb/ft² (about 23 kg/m²). Ice stuck to glazing can be hard to see under a new dusting. Wind can move snow onto one slope and a taller building can shed it onto a lower roof. Look at both sides, the roof vents and any junction with a wall when planning how to deal with the accumulation.
Look for snow water equivalent in a forecast or weather report. It tells you how much water the snow would make if melted. One inch (25 mm) of water equivalent represents about 5.2 lb/ft² (25 kg/m²) of precipitation. Say you have a 6×8 ft (1.8×2.4 m) greenhouse and that amount falls and stays evenly on the roof. Across its 48 ft² (4.46 m²) footprint, that’s about 250 lb (113 kg). Clear while loose snow is still thin and accessible from the ground. Existing ice and drifts add to this new load.
A maritime winter that swings between snow and rain can leave heavy slush and then a crust. A colder inland spell can leave powder that the wind moves into a drift. Both can lead to uneven loads. If a changeover to rain is coming, make sure the drainage route is clear before the storm.
Find the rating before the storm
Look for your exact model and size in the assembly manual or ask the maker for its snow rating and winter maintenance instructions. Ask what the number applies to, especially if the label gives a ground snow load rather than a roof load. If the house has moved, lost braces or been extended, tell the maker. The original configuration is what the documentation describes.
For scale, Canopia’s US page advertises 15 lb/ft² (75 kg/m²) for its Hybrid 6×12 ft (1.8×3.7 m) kit, a rounded unit pair: 75 kg/m² is about 15.4 lb/ft². Its UK page advertises up to 20.5 lb/ft² (100 kg/m²) for its Glory range. Its Glory assembly manual still tells owners to clear the roof and gutters in good time. The Halls Supreme glasshouse instructions give a heavy-snow clearance instruction without a depth. The advertised ratings describe particular assemblies; keep clearing early as the manuals require. The frame and its connections carry the load down to the anchors. Look for the manual’s drawing of the complete assembly when you compare yours with the rated model. A pane thickness or someone else’s rating won’t tell you what your whole house can carry.
With a seasonal film tunnel, the simplest winter plan may be to take the cover off after the last crop, in calm weather, using the maker’s procedure. The USDA high-tunnel guidance calls for removal ahead of snow season unless the structure is designed for the expected loads. For a new tunnel in a regularly snowy climate, choose a gothic, pointed-roof model with a written snow rating appropriate to the site and its required bracing. It sheds snow more readily than a rounded Quonset profile; bow spacing, trusses and snow distribution also affect strength. An occasional-snow climate still needs a plan for the exceptional wet storm.
Get the house and access ready
Check for loose glazing clips, missing bolts or diagonal braces, slack film and shifting anchors while the roof is clear. Use the correct parts for the model. For extra reinforcement, choose the maker’s snow-brace or cross-bow truss kit for your model and install it before loading. Ask the maker or a qualified installer to assess a retrofit for an older house.
Remove external shade cloth that can catch and hold snow. Keep film taut: slack pockets between bows collect snow. On a double-layer inflated-film tunnel, keep the inflation blower running during storms, unless its designed snow-management procedure specifies another sequence.
Shut and secure doors and vents as the manual advises; closed end walls and side curtains also retain heat. Disable automatic roll-up sides before the storm if fitted. Opening a roll-up under snow can damage the film.
Pick a place for the snow before it fills the path or presses against the sides. Leave the door and the downspout outlet clear. Avoid setting a new house where snow or ice can slide off a taller roof onto it. For side-by-side production tunnels, planning guidance suggests 10–20 ft (3–6 m) of clearance for snow removal and cover installation. In a small garden, leave enough room for your clearing method and a snow-storage area; that farm spacing isn’t a universal setback.
Pick a firm path from which you can reach without going under the eaves. If a north side stays icy and you don’t have safe access there, arrange help before a major storm. Where a tunnel will lose its cover for winter, move fragile pots to suitable winter quarters while you can still get at them.
Plan to watch the accumulation during the storm, including overnight if heavy snow is expected. Arrange who will check and when before it starts. Make repeat passes during safe breaks while snow is still loose, rather than wait until the storm has finished. Poor visibility, wind or slippery access can rule out clearing even when the roof needs attention.
Clear loose snow in small, even passes
Choose a soft tool the glazing maker permits. A long-handled soft broom is the first choice for a thin, loose layer you can reach. A light snow rake with a broad nonmetallic or cushioned head can extend your reach if it is approved for the surface and you can control it from the ground. Leave sharp blades, metal shovel edges and ice scrapers in the shed. Measure your reach on a dry day. A tool so long that the head twists or drops onto the panes is too awkward for the job. Leave unreachable areas to an equipped professional; don’t climb onto the roof or a ladder to extend your reach.
For loose powder on a film tunnel, an existing leaf blower may lift it away if you can work from firm ground outside the slide path. Use the broom as the normal choice; a blower won’t shift adhered snow or ice.
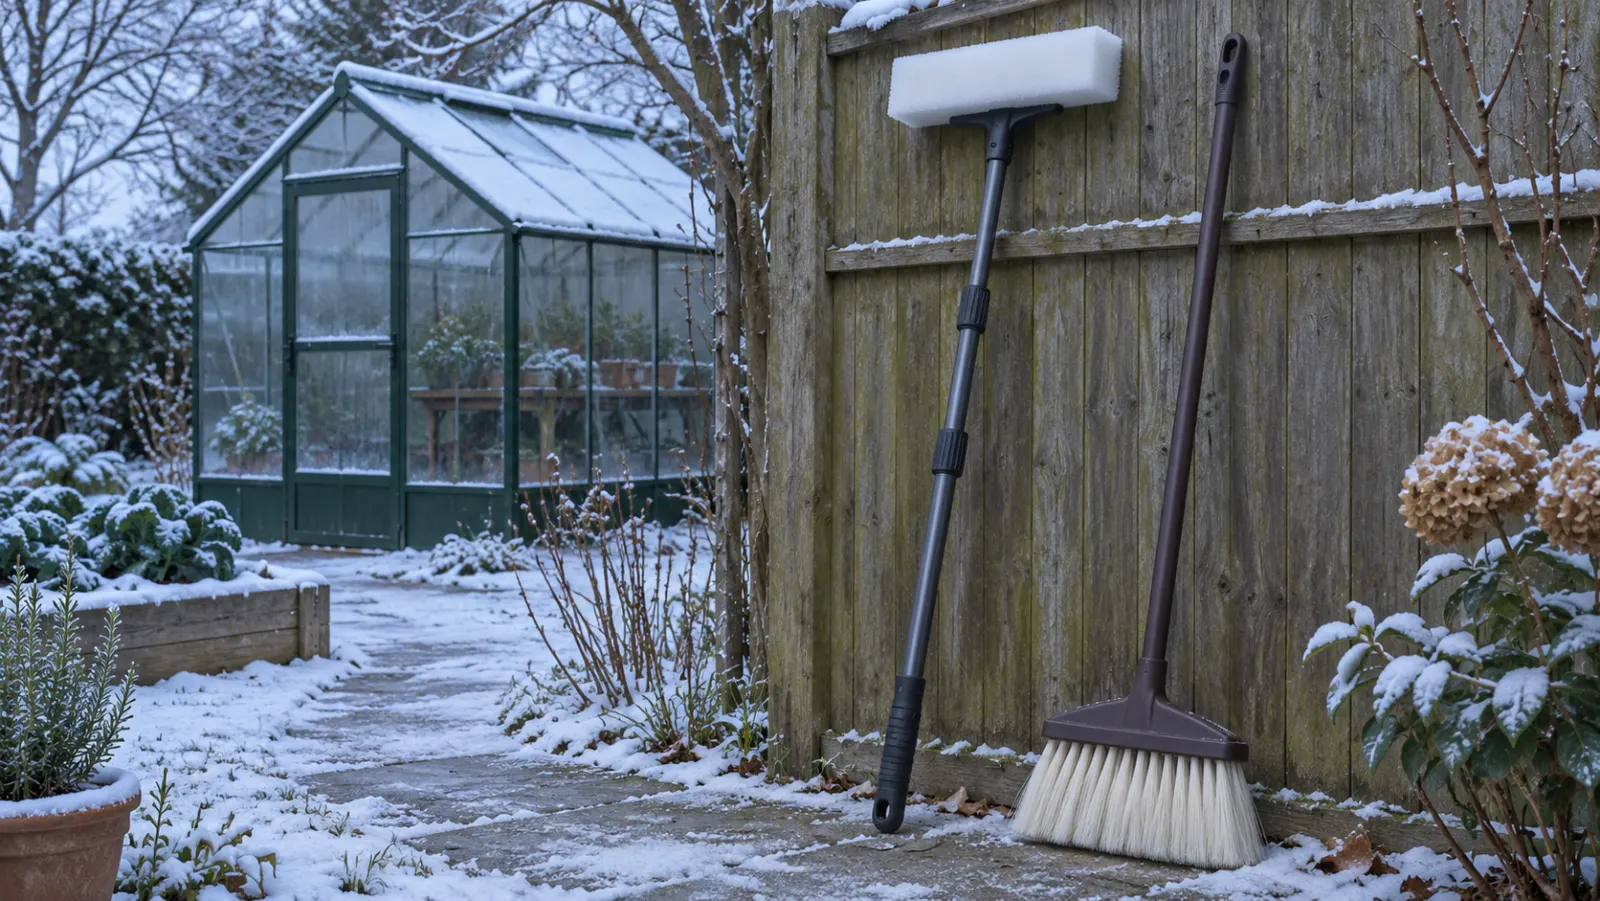
- Wait for enough visibility and grip underfoot to do the job safely. Look for an overhanging slab, shifting frame, or nearby overhead line before raising the pole. Keep other people outside the area where the snow or tool could fall.
- Work from outside the eave’s slide path. Ease loose snow down in small strips rather than dragging a whole bank loose at once. Use light pressure and avoid snagging vents, clips, seams or film fixings.
- Take a little off one slope, then a little off the other to keep the load reasonably even. A cushioned rake and alternating passes are methods used by tunnel growers. Keep removed snow off the roof and stop if conditions change or anything moves unexpectedly.
- Finish by assessing the side piles from a safe position. Keep snow-storage space available so later snow can slide off the roof. Clear banks blocking exits or pressing against walls when the structure and approach are safe.
On a glass roof, keep the broom off projecting clips and never lever against a pane or glazing bar. On polycarbonate, let the soft head glide across loose snow and keep it off exposed edges. Film can puncture or tear if a head catches a seam or the snow is frozen to it. The padding recommended for tunnel tools helps protect the cover from the tool head.
When brushing isn’t enough
Leave bonded ice attached. Don’t scrape it, pound the glazing or pour hot water over it: you can damage the covering or trigger a slide. Keep clear if the remaining accumulation is heavy, and ask a structural professional to assess it rather than wait underneath for a thaw.
For a backyard house, stay outside. Farm-tunnel methods include interior poles, temporary props, ropes and even cutting film. They can release snow or require entry beneath a loaded frame. Don’t turn them into an emergency rescue job. Any additional support needs a design and installation plan agreed before the storm, while the structure is unloaded.
A greenhouse with a designed heating system can melt snow as it falls. Use its written snow-management procedure from the outset. Don’t improvise a snow-melting system with a portable heater after accumulation has become dangerous.
Check the roof again after the thaw
Look from the ground for a ridge that has stayed bowed, loose panes, pulled clips or anchors, torn film and vents that sit out of square. If you find structural movement or damage, keep the house out of use until it has been assessed. Photograph the damage from a safe distance for the maker or installer. A house that shed its snow can still have damage at a connection.
On a sound house, clear reachable gutters and outlets after the ice has thawed. Make sure meltwater flows away from the base and the main path. Note where the drift collected, where the eave dumped snow and whether you had room to reach both slopes. Use those notes to choose the next safe access route or change where you store the snow.