How to Clean a Greenhouse for Winter
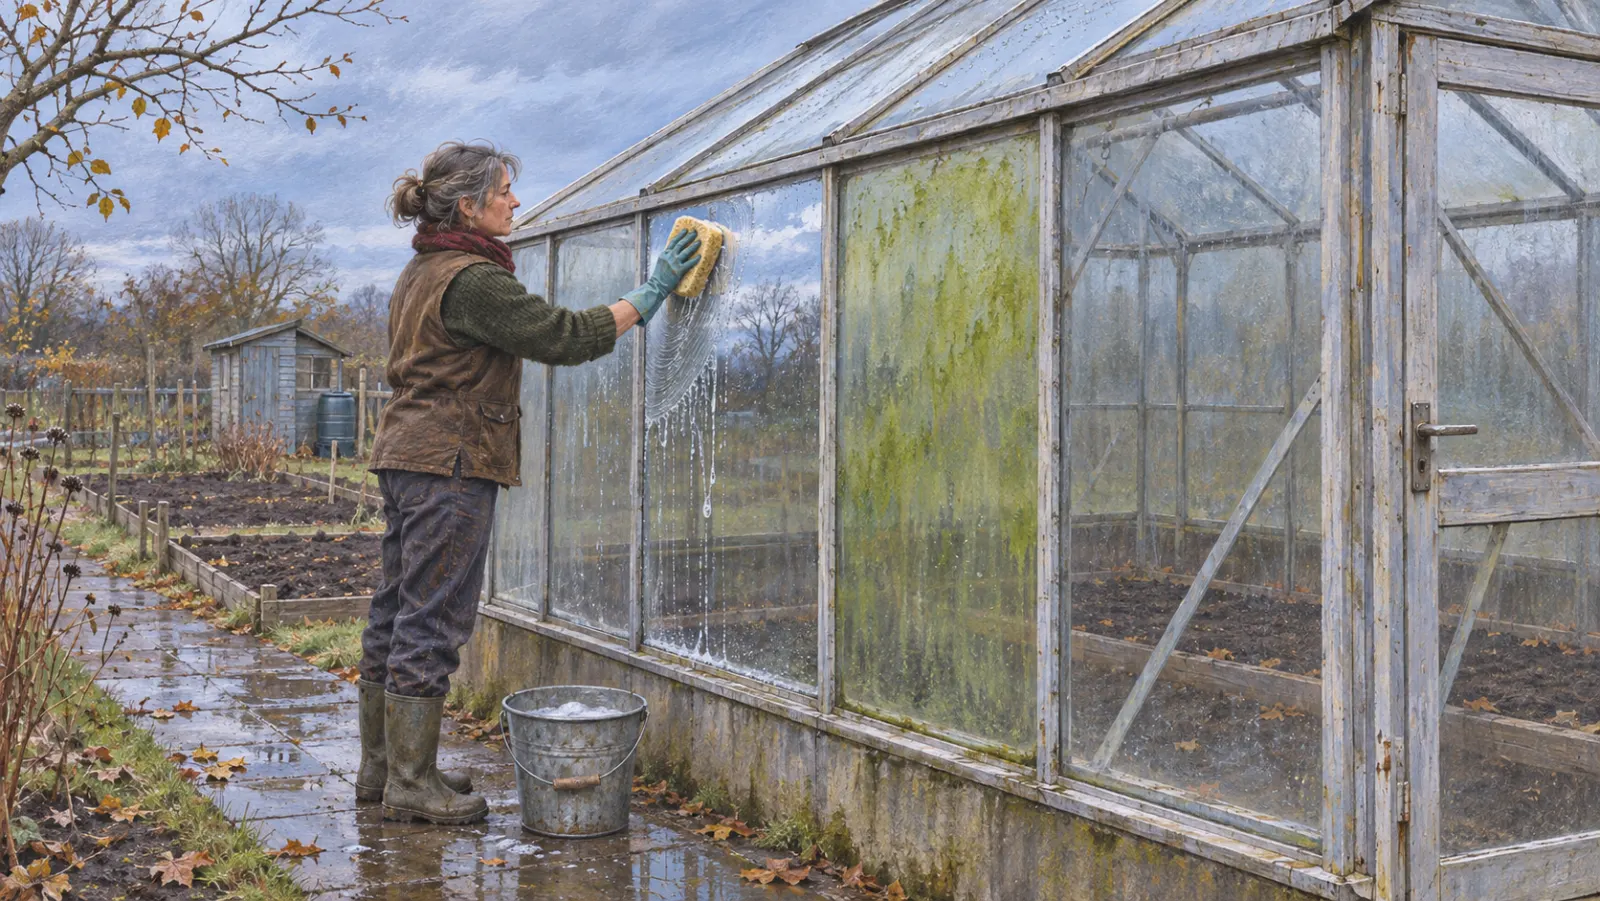
Clean the glazing before winter to let in more light and reduce hiding places for pests and disease. Start with warm water, a soft cloth and the panes you can reach from the ground. Sweep out the old crop before you wash, and clear the gutters so the next rain can get away. If you had a disease outbreak, clean first and then treat suitable surfaces. Do the same for used trays you’re saving for seedlings.
The gap after the tomatoes come out is your chance to wash the whole house. With lettuce or tender pots already inside, wash one section at a time and save any whole-house treatment for when it’s empty.
Pick the method by surface
| Surface or job | Start here | Finish the job |
|---|---|---|
| Ordinary glass | Warm water, soft sponge | Wash both faces; rinse detergent |
| Twin-wall polycarbonate | Rinse grit; soft cotton cloth | Rinse promptly; protect coated interiors |
| Hoop house film | Plain water, soft cloth | Rinse gently around seams |
| Slippery paving | Stiff brush, warm water | Drain puddles; repair recurring leaks |
| Gutters | Scoop leaves into bucket | Flush; confirm downspout flows |
| Used seed trays | Brush, soap, rinse | Disinfect clean trays; rinse as directed |
| Hard surfaces after disease | Remove dirt and crop debris | Apply compatible disinfectant in empty house |
Set aside a mild, dry, calm day. In coastal British Columbia, Ireland or Atlantic Europe, look for a break in the rain long enough for the house to dry. In a colder inland garden, take the next workable spell after the summer crops finish. If the house is used only for overwintering pots, clean it before they move in, even if that means late summer. If winter has settled in and the house stands empty, wait for a thaw; finish before the first spring seed trays arrive.
A greenhouse supplier estimates two to three hours to wash a 6×8 ft (1.8×2.4 m) house inside and out. Allow the day if you also need to move pots, clear the gutters and scrub the floor.
For temporarily moving cool-tolerant tender pots outside, plan around 45°F (7°C) on a calm day. Below that, use a bright, frost-free indoor holding spot; keep warmth-loving plants indoors even on a mild afternoon. Frost cloth (horticultural fleece) can shelter pots from a cool breeze while you work, but isn’t a substitute for a warm holding space.
Say your 6×8 ft (1.8×2.4 m) house has lettuce in a fixed bed and established pelargoniums in pots, with a calm afternoon forecast to reach 45°F (7°C). Move the pelargoniums against a sheltered house wall while you work. Leave the lettuce planted: clean the empty end first, then wipe reachable glass beside the bed with a wrung-out cloth. This is a section-by-section wash; save whole-house disinfection for an empty turnover.
Clear the house while it’s still dry
Take out removable greenhouse benches (staging), seed trays and propagators. Remove detachable shade cloth and bubble insulation so you can reach the glazing. Put loose debris into a bucket as you work. Clear old ties and canes where red spider mites can overwinter. Knock dry soil from the frame corners with a small brush, then sweep it up with the leaves and bits of string. Rake a gravel floor lightly. Pull weeds from under the bench and beside the door. Healthy crop waste can go on the compost heap; deal with diseased material according to the problem and your local collection rules. Bag suspect tomato vines where you pull them so they don’t brush against the bench on the way out.
Use a bucket with a soft sponge or cotton cloth for panes. Set out a separate stiff brush for paving and a watering can for rinsing. A long-handled soft pad is worth buying if it gets you to sound roof panes from the ground. Use a small bucket of clean rinse water and change it when you start picking up grit. Keep the brush you used on the floor away from the glazing.
Inspect the panes and clips before washing. Replace cracked or missing panes and secure any loose fixings before washing that area. Wear gloves when handling glass or metal fixings, and never lean on the glazing or step onto the roof. Work from firm ground with a long handle where you can. If you need a ladder, have someone with you and avoid reaching sideways; leave a pane you can’t reach safely to someone equipped for it.
Scoop leaves and moss from reachable gutters with rubber-gloved hands. Clear the mouth of the downspout; on a suitable exposed inlet a bent wire can fish out a small plug of leaves. Use a little plain water to check that it comes out of the intended outlet, catching the first dirty flush in a bucket if the pipe feeds a barrel. Plain gutter-flush water can go onto the garden; keep detergent and disinfectant wash water separate. If the rain barrel (water butt) is already empty, scrub it with a stiff brush and warm soapy water, rinse it, and take the wash water to an appropriate wastewater drain. Clear the diverter filter and refit the lid tightly.
Wash the panes and find where the green line sits
Glass: wash both faces
Wet the pane to lift loose grit, then wipe with a soft sponge and warm water, from the top down. The inside needs the same attention as the outside. Work out of direct sun so the wash water dries less quickly. Plain warm water is enough for ordinary grime on glass. If a greasy film stays put, try a few drops of mild dish detergent on ordinary glass, then rinse before it dries. A clean soft cotton cloth will take off remaining droplets. Keep scouring pads and wire brushes off the glass: they can scratch it. If the old summer shading still shows, follow the shading product’s removal instructions for glass.
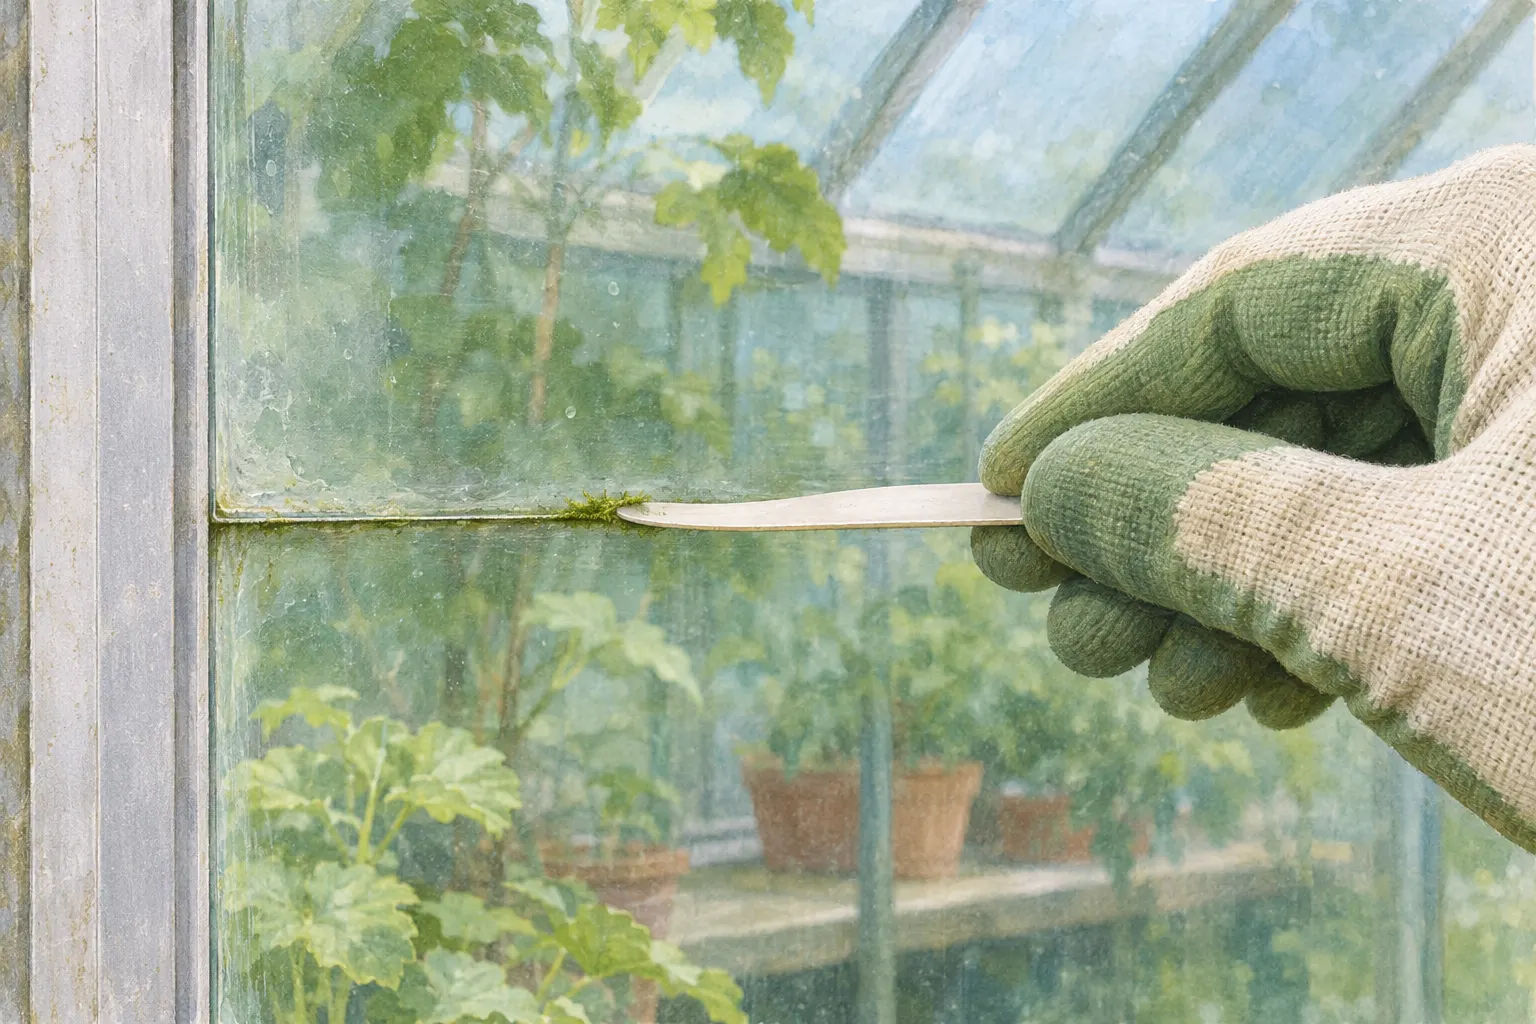
A narrow green line along a lap in older glass often lies between two separate panes. Ease loose moss out of an accessible overlap with the edge of a flexible plastic plant label, then brush the fragments away. Keep the label flat. If the panes move, stop and fix the glazing instead of trying to pry the joint open.
Polycarbonate: rinse grit and protect the coating
Use a gentle rinse before wiping. On a panel whose maker allows it, lukewarm water, mild dish detergent and a soft cotton cloth are enough. Work out of direct sun and rinse promptly with clean water. Dry with soft cotton if spotting bothers you. Stick to hand washing, without blades, squeegees or abrasive cleaners. A sharp edge or dry grit can score the surface. Some interior anti-condensation surfaces shouldn’t be washed at all; look up the sheet name before you scrub its inside face.
If the haze follows the channels inside a twin-wall sheet and neither face wipes clear, it’s a panel issue. Inspect the panel maker’s end-tape and drainage arrangement. On straight sloping SUNLITE sheets, the upper end uses impermeable tape and the lower end ventilated tape; on curved sheets with both ends at the bottom, both ends use ventilated tape. Match your sheet’s installation guide rather than sealing every opening solid. Leave internal cleaning or panel removal to the maker’s repair procedure. On a cloudy old panel that stays dull after washing, check for surface weathering or internal contamination before reaching for a stronger cleaner.
Hoop house film: start with plain water
For a hoop house or polytunnel, lift loose leaves with a soft brush, then use a gentle rinse and a soft cloth on the green patches. Use detergent only if the cover instructions allow it: some films can be washed with mild detergent, while Northern Polytunnels warns against soap on its covers. Use plain water if you don’t know the film. Look for the cover name on the invoice or roll label if water leaves the film dirty. Wash from the ground and ease off around a seam or tear.
Scrub the benches and floor before treating anything
Scrub sound benches with warm water and a stiff brush, especially between wooden slats and underneath. Scrub paving or concrete with warm water and collect dirty runoff before it reaches planted beds. A slick green patch on the path is a slip hazard. If it comes back below the same joint, find the leak or pooling water before you scrub the path again.
After a disease outbreak, use a compatible greenhouse disinfectant in the empty house on cleaned benches and other hard surfaces. Soil and plant debris can reduce the effect of many disinfectants. Remove them first. Use a product labeled in your country for that surface and use, keep the surface wet for the label’s contact time, and follow its ventilation, protection and rinse directions. Keep it off growing plants and soil. For a house used for tomatoes or other food crops, the label must allow that setting.
Seed trays and pots are worth doing away from the beds. Brush out the corners, wash with dish detergent and rinse. Disinfect reused trays intended for seedlings with a product labeled for them, or replace a tray whose cells you can’t get clean. For compatible empty pots, soak washed, rinsed pots for at least 10 minutes in one part household bleach to nine parts water, then rinses them again. Use a product whose label allows the job. Prepare it separately from the washing bucket, adding bleach to water, and use it within two hours. Wear gloves and eye protection. Work in a ventilated space and never mix bleach with other cleaners.
Dry the greenhouse before you put everything back
Open the door and vents while it’s mild enough to dry the floor and frame. Check latches and vent hinges; lubricate where the maker calls for it. As you bring plants back, look under pots for slugs and under leaves for pests. Whitefly can remain active year-round on greenhouse plants. Isolate an infested plant instead of carrying it back past the clean trays. Store the washed pots dry and off the ground.
Once the frame is dry you can fit winter bubble insulation without covering a dirty pane. If the glass is clear after washing but wet leaves keep showing up, switch to the winter condensation routine instead of washing the same pane again. Plan a clean at least once a year, and a second between crops if the house is in constant use. Before you put the bucket away, check that the path is dry, the downspout runs and the vent shuts properly.